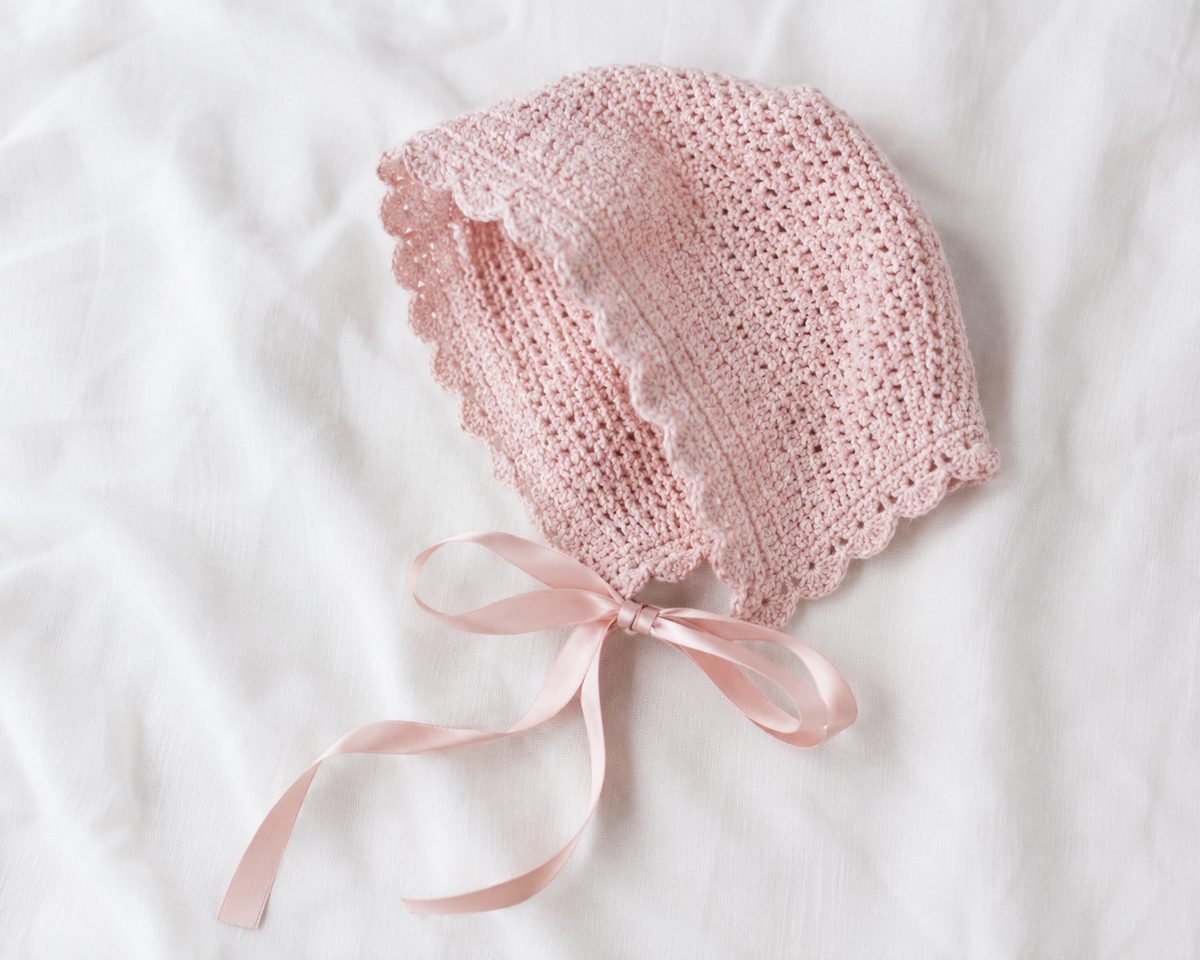

This free crochet baby bonnet pattern is one of the sweetest things you can make for a new baby. The Rosebud Bonnet is worked in the round for the crown, then flat in rows for the back panel, and finished with a pretty scallop edge and simple ribbon ties.
It’s beginner-friendly, uses only basic stitches, and works up in 2–3 hours. The scallop edging gives it a delicate, heirloom feel — perfect for a baby shower gift, newborn photos, or just because.
What Yarn Is Best For This Bonnet?
For a baby bonnet you want something soft, washable, and lightweight. A DK weight cotton or cotton-acrylic blend is ideal — it gives the bonnet great stitch definition, holds its shape after washing, and is gentle on newborn skin.
One 50g ball in your chosen color is enough for one bonnet. Soft pastels like blush pink, ivory, lavender, and sage green all look beautiful.
Press the yarn against your cheek before buying — if it scratches there, it’s too rough for a baby.
Materials
- Yarn: DK weight (Category 3), approx 60–80m
- Hook: 4.0mm (US G/6)
- Notions: Stitch marker, tapestry needle, scissors
- Optional: 50cm (20 inches) of narrow satin ribbon for ties
Gauge
16 dc × 10 rows = 4 inches (10 cm)
Check your gauge before starting. If your swatch is too large, go down half a hook size. If too small, go up.
Sizes
| Size | Head Circumference | Crown Diameter |
|---|---|---|
| Newborn | 13–14 inches (33–36 cm) | 3.5 inches (9 cm) |
| 0–3 months | 14–15 inches (36–38 cm) | 4 inches (10 cm) |
Pattern is written for newborn. Changes for 0–3 months are shown in [brackets].
Abbreviations
| Abbreviation | Meaning |
|---|---|
ch |
chain |
sc |
single crochet |
dc |
double crochet |
sl st |
slip stitch |
st(s) |
stitch(es) |
rnd |
round |
RS |
right side |
WS |
wrong side |
Pattern is written in US terms.
How To Crochet The Rosebud Baby Bonnet
How To Make The Crown
The crown is worked in the round from the center out, like a flat circle.
With your yarn, make a magic circle.
Round 1:
- Ch 2 (counts as first dc throughout crown)
- Work 9 dc into the magic circle
- Pull tail to close center
- Sl st to top of ch-2 to join (10 sts)
Round 2:
- Ch 2, 1 dc in same st
- 2 dc in each st around
- Sl st to top of ch-2 to join (20 sts)
Round 3:
- Ch 2, 1 dc in same st, 1 dc in next st
- *2 dc in next st, 1 dc in next st* — repeat around
- Sl st to top of ch-2 to join (30 sts)
Round 4:
- Ch 2, 1 dc in same st, 1 dc in each of next 2 sts
- *2 dc in next st, 1 dc in each of next 2 sts* — repeat around
- Sl st to top of ch-2 to join (40 sts)
For 0–3 months, work one more round: Ch 2, 1 dc in same st, 1 dc in each of next 3 sts, *2 dc in next st, 1 dc in each of next 3 sts* repeat around. Sl st to join. (50 sts)
Your crown should lie completely flat. If it cups upward, go up half a hook size.
How To Crochet The Bonnet Body
From this point you work back and forth in rows — you are no longer working in the round. Turn your work at the end of each row.
Rows 1–8 [1–7 for 0–3 months]:
- Ch 2 (does not count as a stitch here)
- 1 dc in the very first st (same st as ch-2)
- 1 dc in each st across — 38 sts [46 sts]
- Turn
Work these rows evenly with consistent tension. The body should feel relaxed and not pull at the sides.
How To Crochet The Scallop Edge
The scallop edge runs along the front opening of the bonnet and gives it that pretty, delicate finish.
Scallop Row:
- Ch 1 (does not count as a stitch)
- 1 sc in first st
- *Skip 1 st, 5 dc in next st, skip 1 st, 1 sc in next st* — repeat from * to * across
- Fasten off, leaving a 15cm (6 inch) tail to weave in
Each repeat uses 4 stitches and creates one scallop shell. You will have approximately 9 scallops [11 scallops] across the front edge.
How To Add The Ribbon Ties
The ties hold the bonnet snugly under the baby’s chin and are worked directly into the bonnet — no sewing needed.
First tie:
- Join yarn with a sl st to the bottom corner of the bonnet (end of Row 8 [Row 7])
- Work 1 sc evenly along the neck edge of the bonnet — approximately 2 sc per row end
- When you reach the other bottom corner, do not fasten off
Second tie (chained):
- At the second corner, ch 40
- Sl st back along the chain from 2nd ch from hook to end
- Fasten off and weave in end
First tie (chained):
- Return to the first corner
- Join yarn with sl st
- Ch 40
- Sl st back along the chain from 2nd ch from hook to end
- Fasten off and weave in end
Tip: If you prefer ribbon ties, simply work the sc edging along the neck, then thread 25cm (10 inches) of satin ribbon through the corner stitches at each side and tie a bow. Either way looks beautiful.
Finishing
- Weave in all ends carefully using your tapestry needle — pull tails through at least 4–5 stitches before trimming
- Block lightly by dampening the bonnet, shaping it gently with your hands, and leaving to dry flat — this evens out the stitches and defines the scallop edge beautifully
- Machine wash at 30°C in a mesh laundry bag, reshape and lay flat to dry
Tips For Best Results
Even rows: Keep your turning chain consistent. The ch-2 does not count as a stitch in the body rows — always work your first dc into the very first stitch.
Scallop tension: Work the scallop row slightly looser than your body rows so the edge lies flat and doesn’t pull.
Color ideas: This bonnet looks beautiful in a single pastel color, but you could switch to a contrast color for the scallop row only for a two-tone effect.
As a gift: This bonnet pairs perfectly with the Bloom Bonnet ribbon baby booties for a complete coordinated baby shower gift set.
Frequently Asked Questions
What size does this pattern make? As written it makes a newborn bonnet. For 0–3 months follow the bracketed instructions throughout.
Can I use worsted weight yarn? Yes — use a 5.0mm hook and expect a slightly chunkier look. The bonnet will work up faster and still look beautiful.
Can I skip the scallop edge? Yes — finish with a row of sc instead for a simpler, cleaner edge. It will still look lovely.
Can I sell hats made from this pattern? Yes — you’re welcome to sell finished items made from Bloom Bonnet patterns. Please credit BloomBonnet.com when sharing online.
How do I keep the bonnet on a newborn? Tie the ribbon ties in a loose bow under the chin — snug enough to stay on but with two fingers of room. Never tie tightly around a baby’s neck.